Pages

Wednesday, 4 May 2016

Image Distortion

Water can act as a big lens by bending light in different ways. This can result in a distortion of the subject. This can be an excellent method of surreal photography as well because the subject becomes so distorted that it is almost unrecognizable. By using water in this way I will be able to show how water can be a both beautiful and eerie subject to photograph.


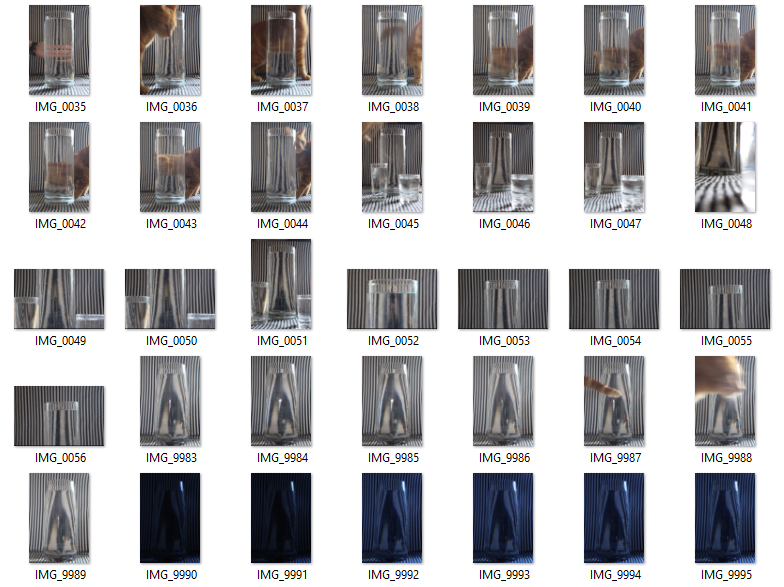
With my own attempt at water distortion photography I chose to go down the rout of using a striped background and a glass of water as the main subject of the image. I started by setting up my background in a well lit area, using a nearby window as the primary light source giving the image a nice natural light, illuminating the image from behind. I then proceeded to setup the camera and take a few shots of the glass/vase in order to get the correct exposure and aperture. Once the water was added and the camera was setup correctly, then I began taking photos.


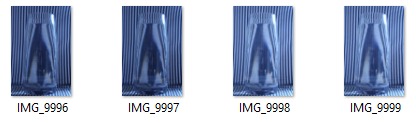
I feel that my final photographic result was a successful representation of the distortion of water, as the lines within the image were distorted by the water and shifted into different shapes by bending light in different directions. I did however experience a few difficulties when taking the photos that lead to them not looking as good as they could have done, with examples being, reflections in the glass/vase of other light sources and objects surrounding the shot, and the miss matched striped backgrounds of different stripe thickness and also different texture. These smaller things that are not the main focus point of the image can also effect the image in a way that makes it look a little unprofessional. These types of mistakes are what I need to look out for when taking photos in future shoots.

Contact sheet:

Tuesday, 26 April 2016

Double Exposure

Double Exposure photography is a method that uses more than one image at different exposures to overlay each other in order to create a really striking image. This form of photography can be used anywhere and can be based around pretty much anything, therefore I have decided to experiment with this for myself and base this method around my topic of water.


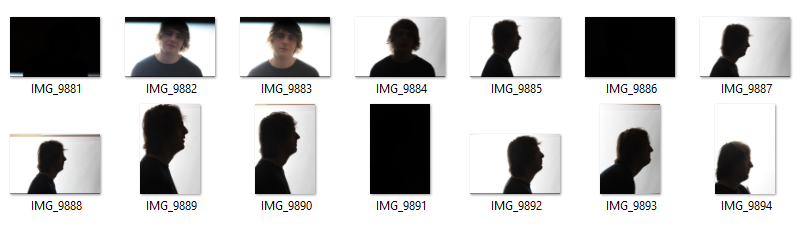
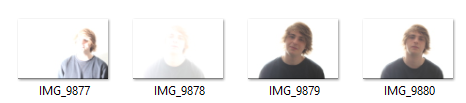
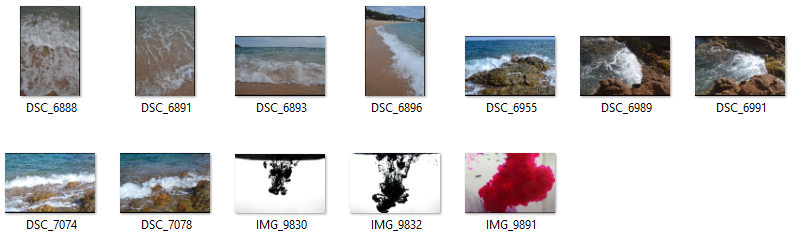
In order to take the best images for double exposure I needed to take silhouetted portrait photographs of a face that would stand as the main frame/shape of the main image. The best way to do this was to setup a camera in a studio with a white background. By placing my subject in front of the white screen and setting up a studio flash to illuminate only the background, I was able to take photographs of my subject as a silhouette. which then meant I was able to take photographs of water that could be placed over the image in Photoshop. By placing the portrait silhouette on a layer below the water images and setting the water image to the layer effect screen,  the layers were merged together, making a  surreal double exposed picture, that really captures what I wanted to emulate.


Contact Sheet:


Monday, 25 April 2016

Under Water Photography

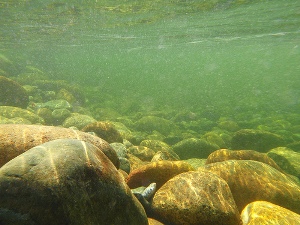
Underwater photography has been popularly used by many natural and wildlife photographers wanting to get snaps of fish and other marine life, but its not just the animals under water that make a good photo. The natural scenery underwater can be a rather interesting and beautiful subject in it's self, giving us an insight into what the world looks like under our rivers and lakes. 


The main way to take these photographs would be to use a camera that uses waterproof housing to keep it dry and prevent the camera from being damaged, but in recent years camera companies such as Go-pro have popped up, meaning taking images underwater have become much more easier and convenient to achieve. For my own experiment I I'll use a Go-Pro Hero Session camera in order to achieve this. The Go-Pro Hero Session, uses a wide angle lens that creates a distorted fish eye shape. This meant I was able to take more within the photo, giving it a deeper field of view.


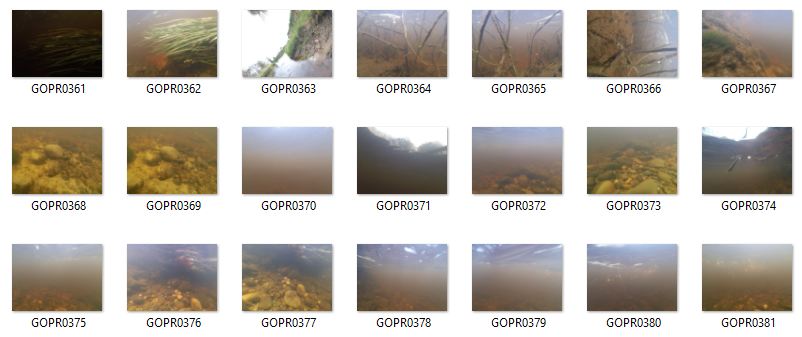
When taking the photos I did encounter a few problems such as murkiness of the river water that clouded my vision and added a yellow hue to the images, distortion due to the waters alteration of light, and also some areas of the images foreground being slightly blurred. These are only minor setbacks that are expected when taking images underwater, although when taking these images into Photoshop I was able to alter the hue/saturation, levels, and brightness and contrast and iron out some of the imperfections.

I feel that this experiment has been a success, as the only way I can get better results would be if I were to find naturally clearer water which would be a lot more difficult. Man-made tanks/ponds/lakes could offer better results but the likelihood that these water sources would be better visual quality is low and hard to predict as algae and other sediments can still cloud the water.

Contact Sheet:


Thursday, 24 March 2016

Ink Dispersion

Certain substances in the world mix with water, normally turning it a different colour or changing the waters clarity.The name of the process when  a substance mixes with water is called dispersion. Examples of this can be seen in natural rivers with grit and mud clouding the water and usually turning it a brown colour, but this process can also be seen in an even more common scenario such as using juice cordial to change the flavor of drinking water. even from a small drop, the substance will continue to mix with the water until the all of the water has been saturated.


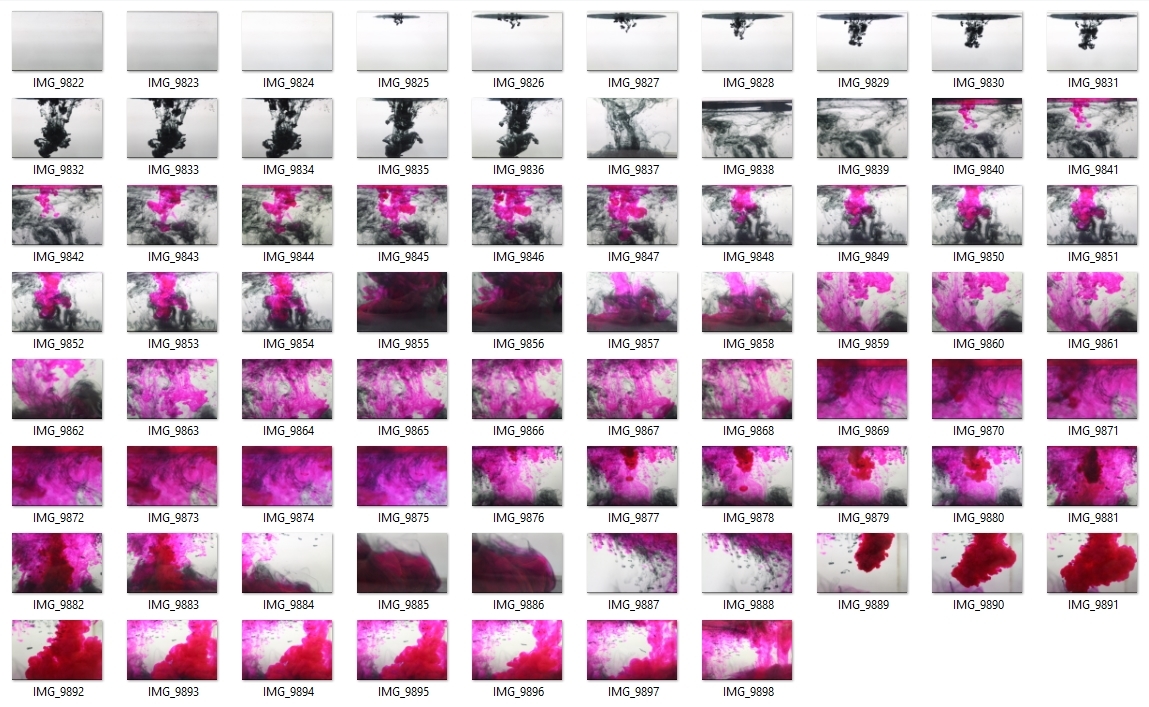
I have chosen to utilize this process for a photographic experiment by showing how ink can disperse into water and create some beautiful shapes. I set the shoot up by filling a glass water tank with water and placing a white background behind it in order to achieve nice contrast against the black ink. I then set up a camera and changed the image type to RAW for easy editing in Photoshop. Next set up the tripod in front of the tank and began dripping ink into the water. 


As planned the ink created beautiful and rather distorted shapes as it drifted through the water although one bad side to this was that using a high ISO caused my images to suffer from lots of noise. This process has lots of potential for other experiments and would work extremely well with double exposure experiments within Photoshop.


Contact Sheet


Thursday, 28 January 2016

Bokeh

Bokeh is a form of utilizing the blurred area of an image that has a shallow depth of field. By creating a hood over the front of the lens with a small hole (of any shape) cut out of it in the center, this allows you to alter the shape of any light source that is within the blurred area of the image. This can be a really nice effect when taking close up, shallow aperture images, and makes things seem more surreal.


 In an experiment of my own using Bokeh, I will be using a hand made hood to go over the front of my lens and a custom design for the viewing hole so that the orbs of light are different shapes within the final image. The subject of my experiment will be water which if done well can be really effective with the shimmering light on top of the water. I will need to pay attention to aperture and focus when taking these photos to achieve the best results.


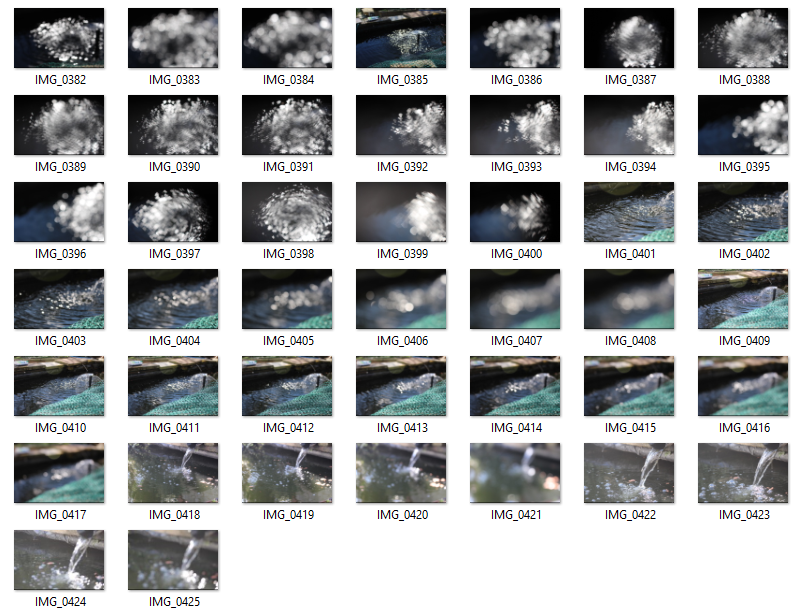
For my own Bokeh experiment I used a tripod to set up my camera in front of a small pond making sure I was in line with the suns reflection of the waters surface. I began by testing out the process by taking a series of photos that transitioned from a fully focused deep depth of field to a shallow depth of field,showing the points of light on the water becoming these circular shapes. In order for you to see the transition I used a GIF creator to show the process a little better.


Afterwards I proceeded to use my home made lens hoods that I had cut small shapes into and secured them to the lens of the camera with elastic bands. After aligning the holes to the center of the lens I began to take photos using a shallow depth of field. The first hood I used was one that I had cut out a diamond shape.

The Diamond shaped hood worked well in creating a diamond shape in certain areas of bokeh towards the edge of the image, however the sheer amount of light reflecting off the water meant all of the points of light seemed to blur together in the center, making it seem too bright. One of the nice features about using this hood for the photo shoot meant the entire image became warped to the diamond shape I had cut out of it, almost creating a fish eye effect.


The second attempt at shaped bokeh worked a little better but some of the same problems seemed to occur within the image. The shape I had cut out of the hood was a skull and crossbones, this worked better than the Diamond attempt as the shapes were a lot more readable and recognizable. Although the amount of reflected light yet again caused the same problem with a mass of bokeh in the center many of the points of light towards the edge of the image showed a great result with a clear shape of a skull and crossbones.


My bokeh experiment using both shaped and circular bokeh has worked well, but with problems in areas such as too much light being reflected into the camera, it might be worth re-visiting this method using different sources of my subject of water.

Contact Sheet: