Pages

Thursday, 28 January 2016

Bokeh

Bokeh is a form of utilizing the blurred area of an image that has a shallow depth of field. By creating a hood over the front of the lens with a small hole (of any shape) cut out of it in the center, this allows you to alter the shape of any light source that is within the blurred area of the image. This can be a really nice effect when taking close up, shallow aperture images, and makes things seem more surreal.


 In an experiment of my own using Bokeh, I will be using a hand made hood to go over the front of my lens and a custom design for the viewing hole so that the orbs of light are different shapes within the final image. The subject of my experiment will be water which if done well can be really effective with the shimmering light on top of the water. I will need to pay attention to aperture and focus when taking these photos to achieve the best results.


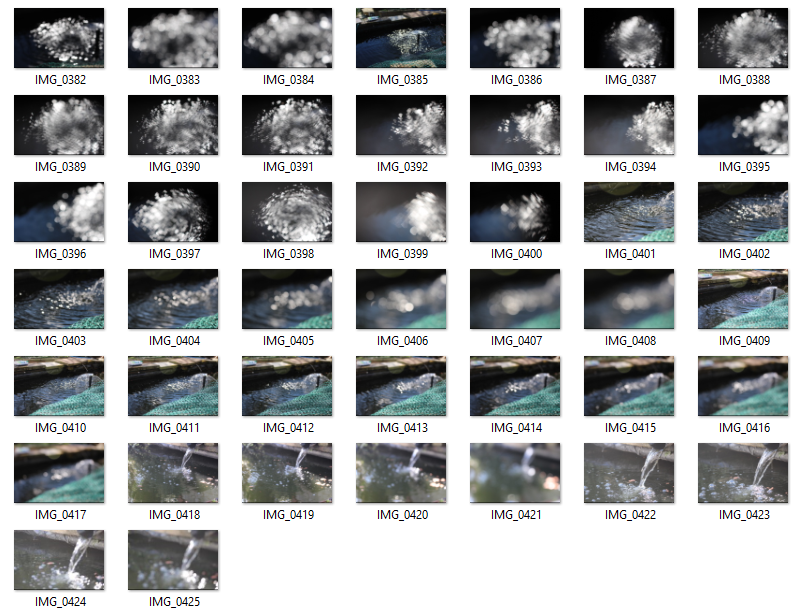
For my own Bokeh experiment I used a tripod to set up my camera in front of a small pond making sure I was in line with the suns reflection of the waters surface. I began by testing out the process by taking a series of photos that transitioned from a fully focused deep depth of field to a shallow depth of field,showing the points of light on the water becoming these circular shapes. In order for you to see the transition I used a GIF creator to show the process a little better.


Afterwards I proceeded to use my home made lens hoods that I had cut small shapes into and secured them to the lens of the camera with elastic bands. After aligning the holes to the center of the lens I began to take photos using a shallow depth of field. The first hood I used was one that I had cut out a diamond shape.

The Diamond shaped hood worked well in creating a diamond shape in certain areas of bokeh towards the edge of the image, however the sheer amount of light reflecting off the water meant all of the points of light seemed to blur together in the center, making it seem too bright. One of the nice features about using this hood for the photo shoot meant the entire image became warped to the diamond shape I had cut out of it, almost creating a fish eye effect.


The second attempt at shaped bokeh worked a little better but some of the same problems seemed to occur within the image. The shape I had cut out of the hood was a skull and crossbones, this worked better than the Diamond attempt as the shapes were a lot more readable and recognizable. Although the amount of reflected light yet again caused the same problem with a mass of bokeh in the center many of the points of light towards the edge of the image showed a great result with a clear shape of a skull and crossbones.


My bokeh experiment using both shaped and circular bokeh has worked well, but with problems in areas such as too much light being reflected into the camera, it might be worth re-visiting this method using different sources of my subject of water.

Contact Sheet:
Thursday, 22 October 2015

Water Droplets On Glass

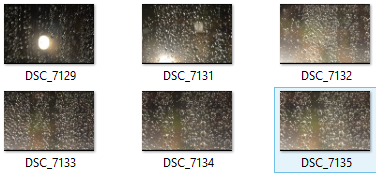
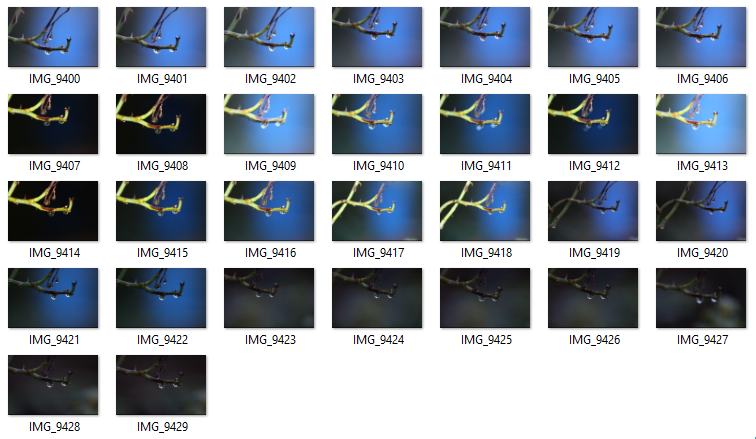
Water is one of the main things needed to sustain life on the planet, however sometimes water can be one of our most hated enemies especially when dreary rainy weather appears and causes limitations to everyday life. In this short experiment I wanted to capture the essence of rain through water droplet photography. As rain hits a window of a house or car, the water sticks to the glass in hundreds of small water droplets, this was the focus of my experiment. With the macro mode set on my camera and a thunder storm at hand, I took a few photography out of the window at the water that had been left behind by the storm. I feel as though this would be a great experiment and I will continue to experiment with this.


Contact Sheet


Thursday, 15 October 2015

Jason Bradley Water Wildlife Emuation

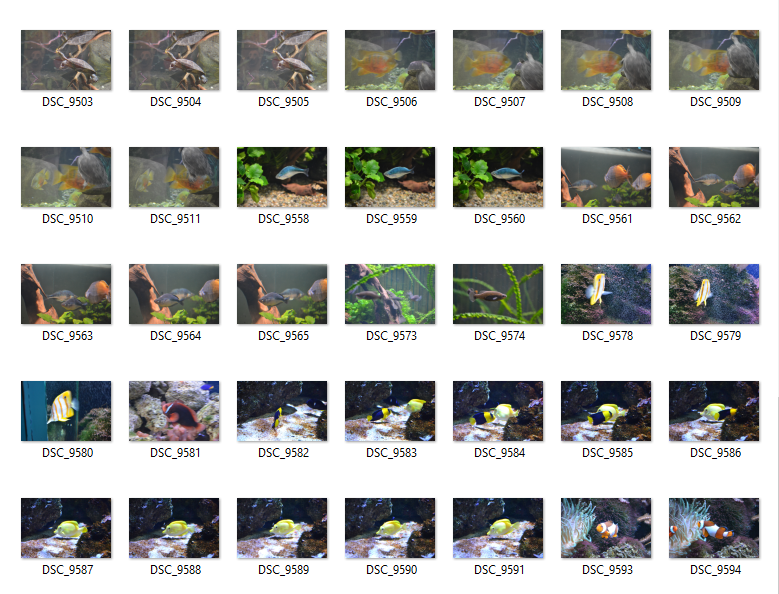
As an emulation of Jason Bradley's Water Wildlife photography I needed to take photos of water dwelling creatures in a similar manner to Bradley's work. I was not going to be able to take images of  underwater creatures in their natural habitat, I took a trip to Chester Zoo to their aquarium center to take some photographs of fish and other marine life in big aquarium tanks. the conditions of shooting were rather difficult as the center was rather dark inside therefore I needed a slow shutter speed and higher ISO to take the photos at the perfect exposure. This also meant capturing images of fast moving fish was difficult and I suffered with trouble from motion blur. However I was able to get some Images that were crystal clear. Here is what I managed to capture.


Contact Sheet:


John Harrison Watery Landscapes Emulation

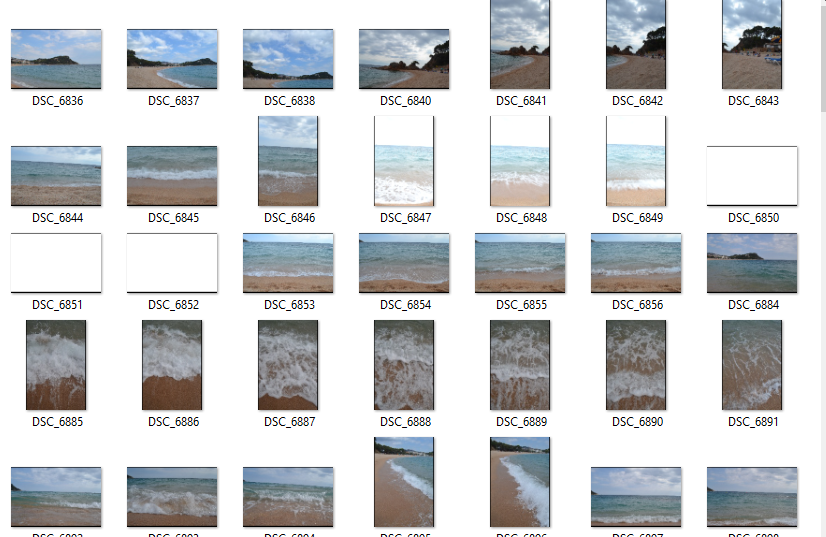
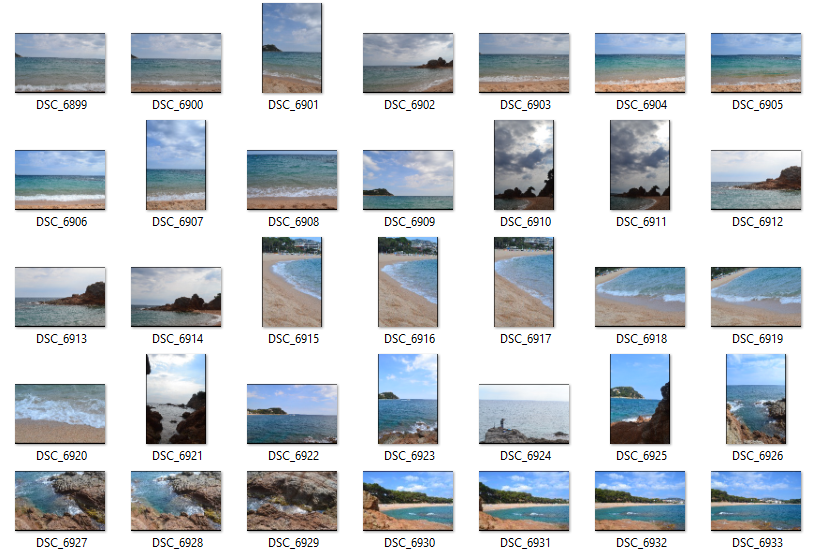
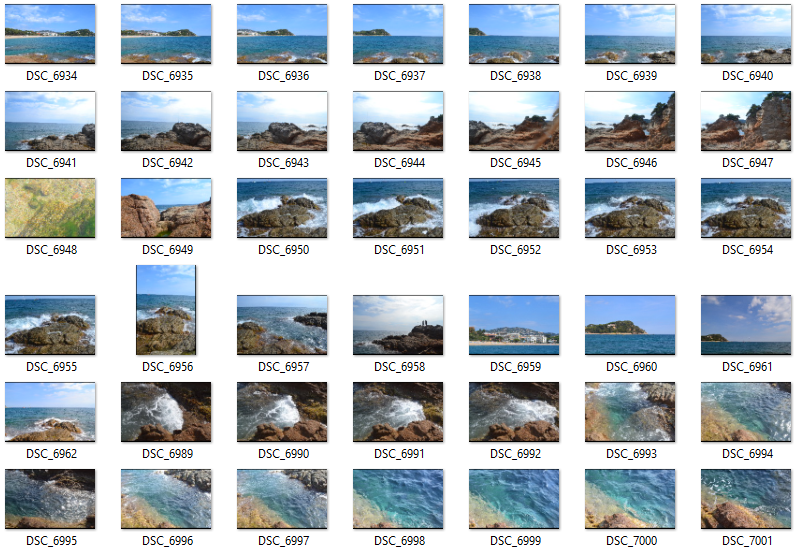
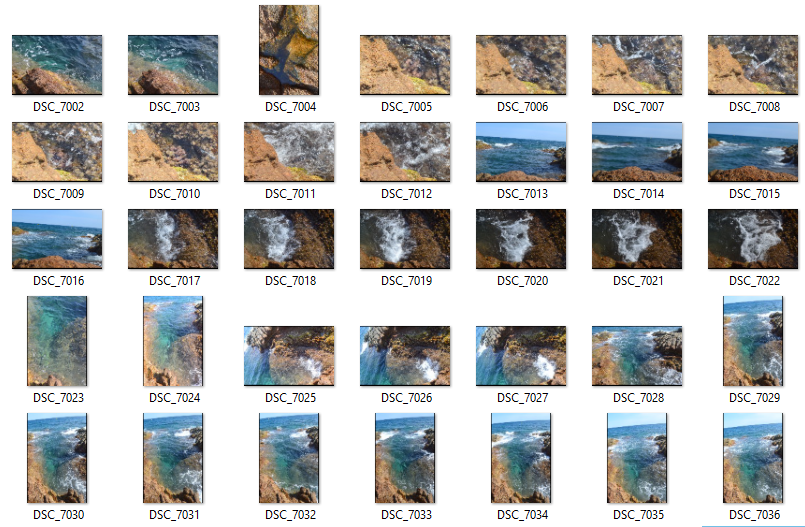
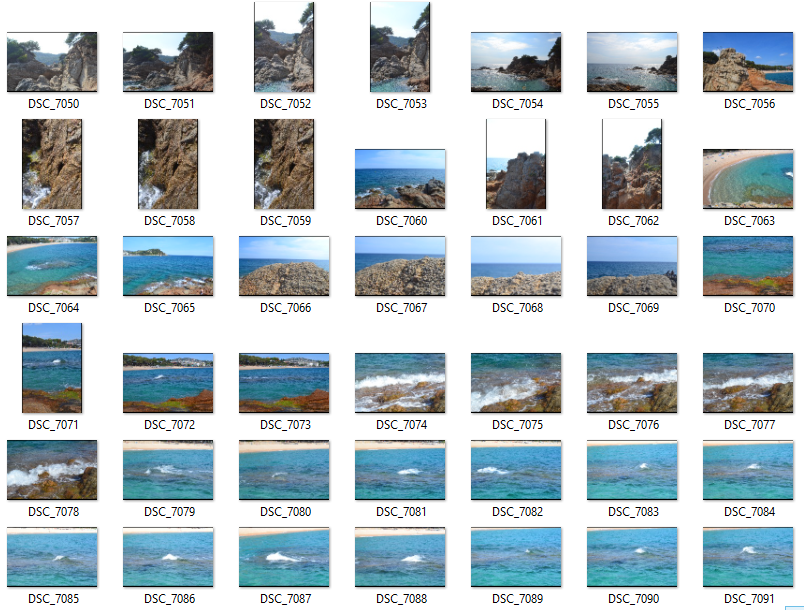
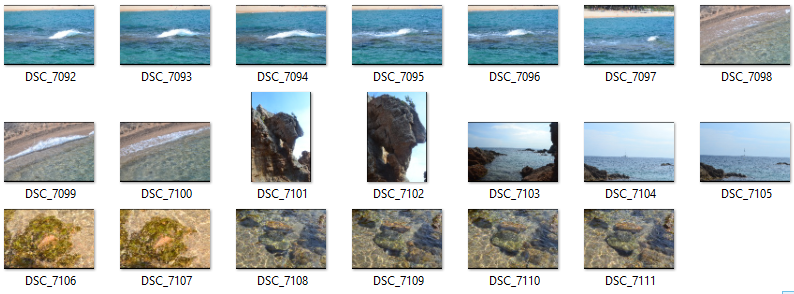
As a second emulation for water photography, John Harrison's watery landscapes are a perfect way to express the movement of water and how it can shape landscapes into what we know an love today. In my personal photos I went to a beach in Spain and took many photos of the waves and landscape using the same methods as Harrison does in his photo's. I mostly used a deep focus range for the photos in order to capture movement in the waves, but in some of john Harrison's work a slower shutter speed is used in order to capture motion blur in the water by having the shutter open for longer. I attempted to use a slow shutter to capture wave motion blur, but working in the middle of the day with bright sunlight resulted in all of the images being rather over exposed. In Harrison's photos it is noticeable that the time of day he shoots at is around the evening when the sun is setting (Golden Hour), at this time the light is much dimmer which means at a longer shutter speed the image wont be over exposed but within the range of a perfect exposure. I will have another attempt at slower shutter speeds in lower light conditions and in a different location (rivers, streams etc.) for more variety of subject.


Contact Sheet


Wednesday, 14 October 2015

Steve Wall Water Droplet Emulation

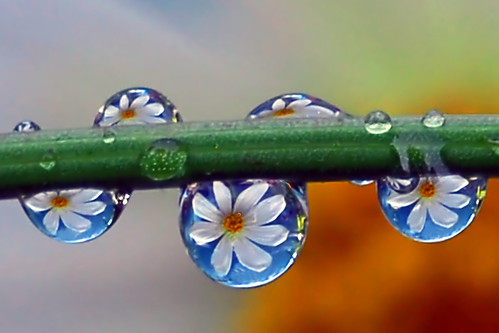
Steve Wall's water droplet photography will be my starting point when it comes to emulating methods and styles of professional photography. I will need to use the macro setting on my camera for this experiment in order to achieve full focus of the subject, as taking photos at such a close range can be hard to keep clarity within the image. For the moment I will be using my DSLR and two lenses, a 77 - 300 lens and a 18-55 kit lens, however if focusing the camera at such a close range doesn't work I may need to look at Macro Lenses that could help me with this experiment. 


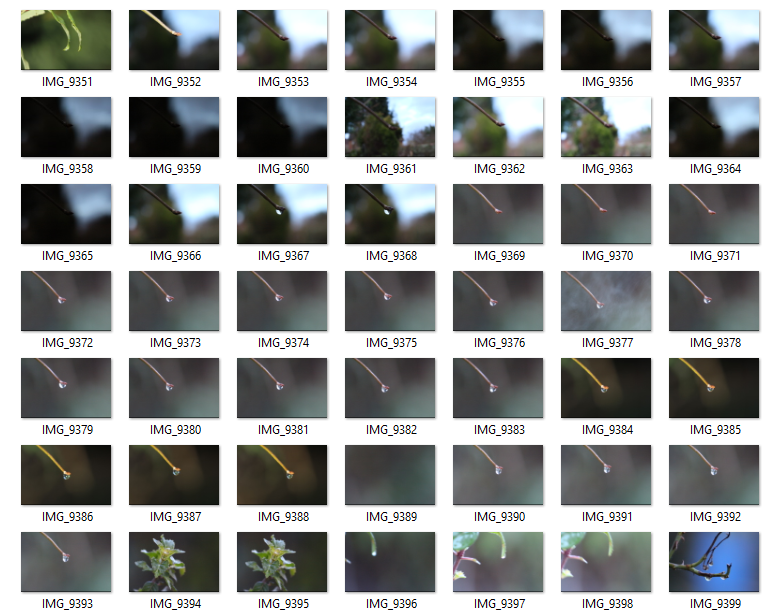
In my own Photography I had trouble focusing the subject at such a close range, therefore I could only take photos of the subject from a distance further than I would have liked. The photographs I took were too far away from the subject to even see anything within the water droplet, this means the lenses I used for the experiment were unfortunately not suited to this such a close range of macro photography. Here are the photos I have taken


Contact Sheet:


In order for me to get a better result next time I should look into using a Macro lens or maybe possible ways in witch I can Get better results with the lenses I have already used.